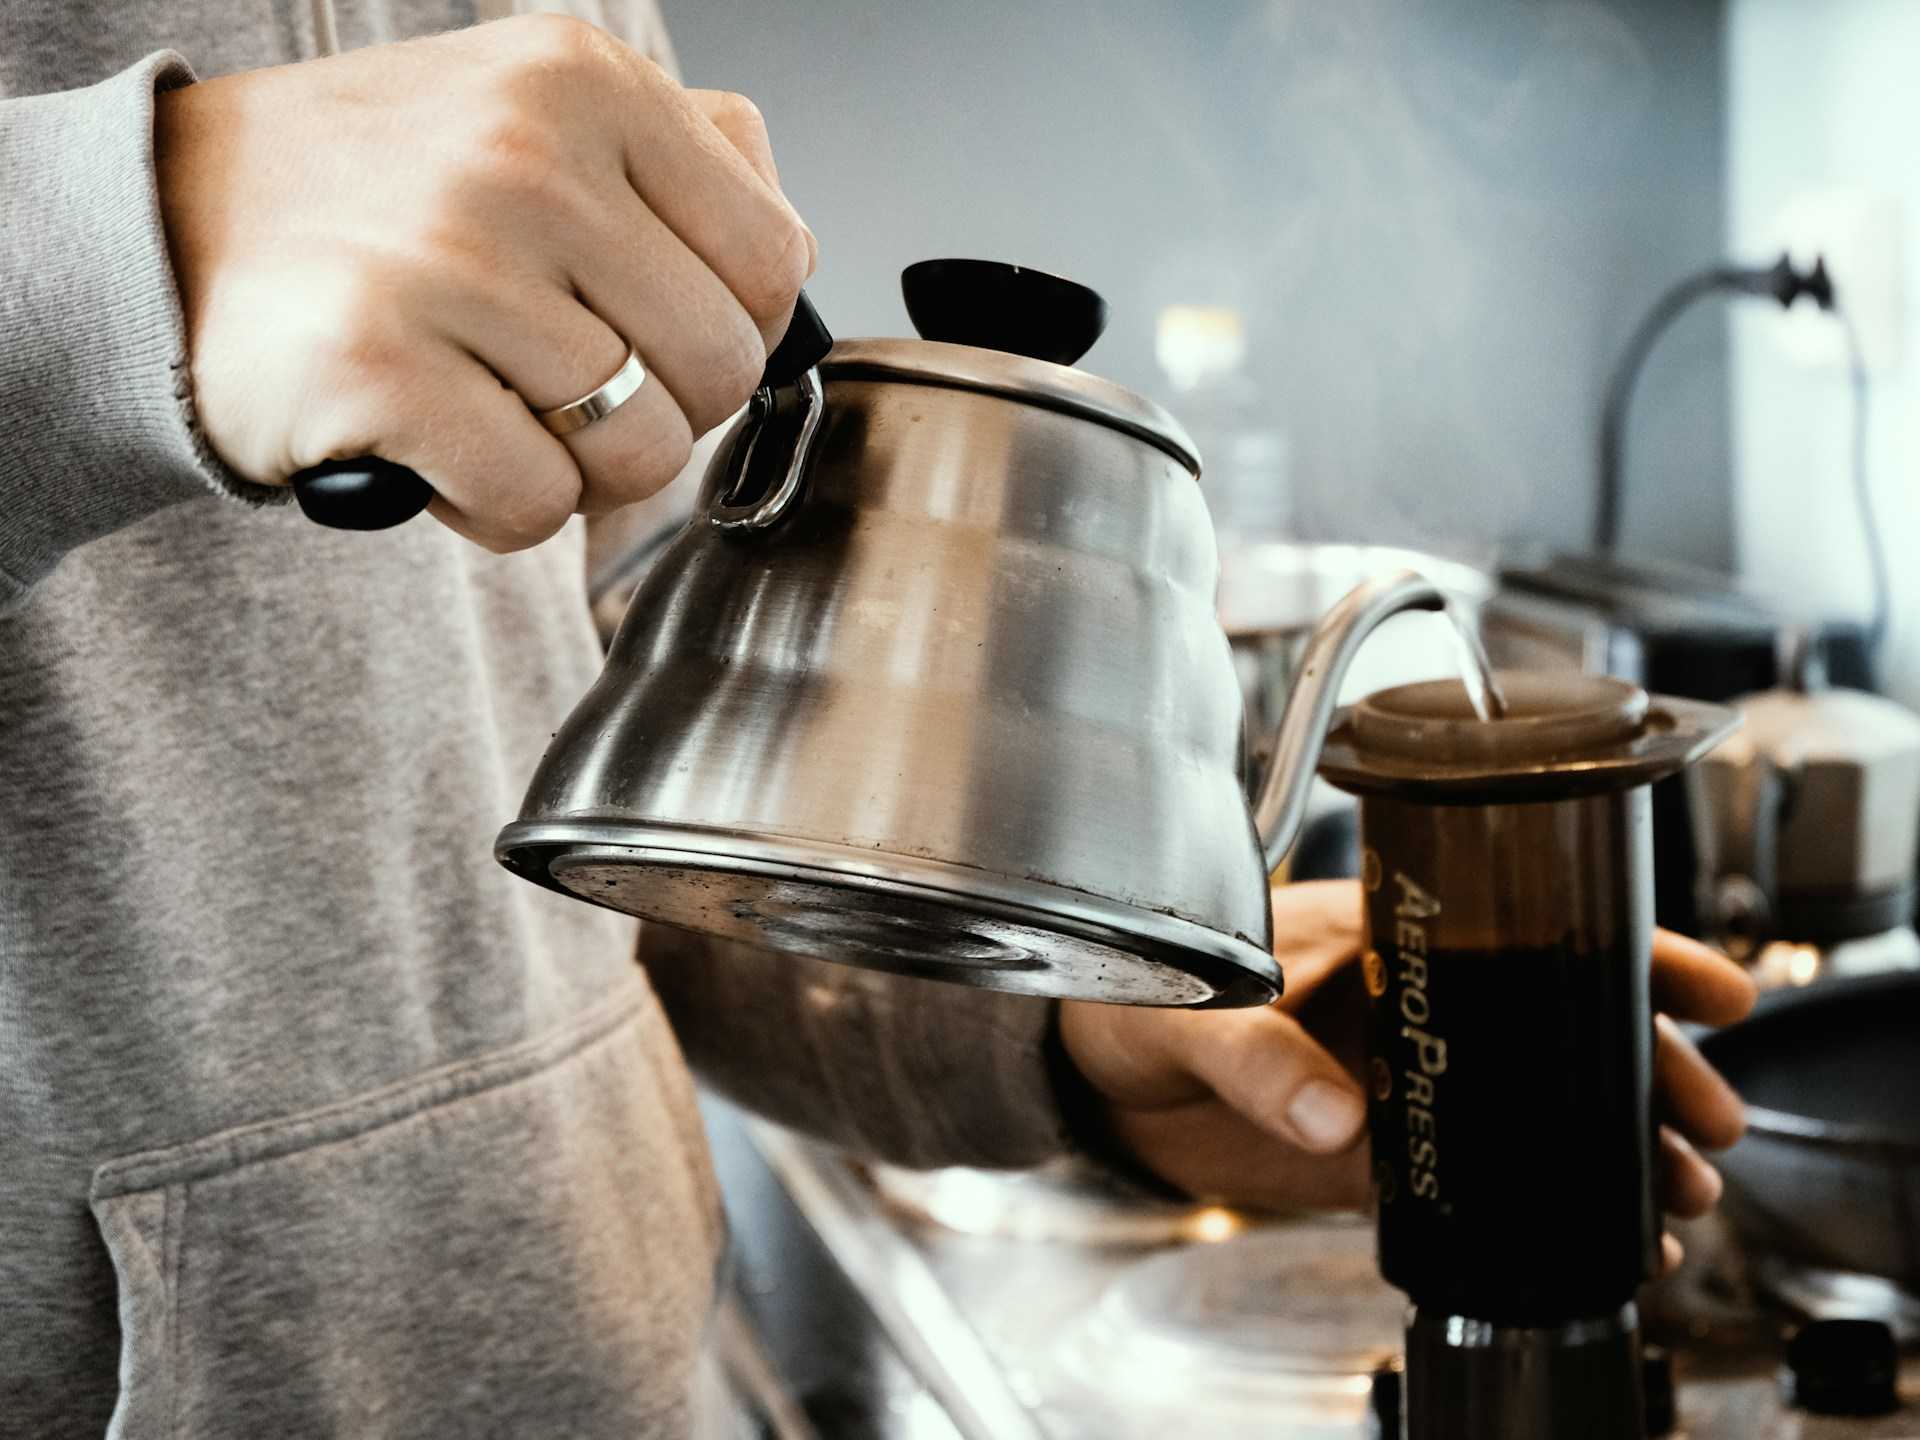
No matter if it's morning or afternoon, Daniel's always prefers to have a large cup of coffee when possible. So with this guide you can be sure you'll have a full cup to fuel you for whatever the day throws at you.
Equipment
AeroPress
Being relatively new to the specialty coffee world, Daniel opted to start with the AeroPress. An easy to use, compact and affordable way to make great tasting coffee. Whether you are starting with beans or prefer someone else to do the grinding for you, the AeroPress is a great way to get started.
Azontion Manual Coffee Grinder
It might be a cheap no frills grinder, but don't dismiss it. Daniel has found this cheap little grinder to work out a lot better than he has expected. Making great cup of coffee after great cup for almost a year now, this grinder has proven itself to be a great entry point for those who want to grind their own beans.
TIMEMORE Coffee Scale Basic 2.0
Although he already had a food scale, Daniel opted to get his hands on a scale that goes down to 0.1 of a gram for his coffee, to get the best possible results and consistency with each brew. Since using this scale, he has found it really simple and great to use. Now becoming his go to scale for not just coffee but all his cooking and meal prepping needs.
TIMEMORE Coffee Scale Basic 2.0
TIMEMORE Fish Pro Kettle
After investing in the scale, Daniel next invested in a temperature controlled kettle to play around with various water temperatures when brewing coffee. Originally skeptical of how a slight change in temps would change the flavor profile of the coffee, Daniel has found that it really does make a difference. If you are looking to get into the nitty gritty of brewing coffee, this kettle is a great way to play around with different temperatures.
Steps
-
Heat Water: Start by boiling your water for the brew. If you can control the temperature of the water, Daniel likes to use 90-95°C for light roasts, 85-90°C for medium roasts and 80-85°C for dark roasts.
-
Inverted: Place the plunger of the AeroPress into the main chamber up to the number 4 or just slightly under, ensuring a tight seal.
-
Coffee: If you have beans, weigh out 20g of coffee and either ground your beans to a medium-fine grind. Then place the coffee into the AeroPress. If you are using pre-ground coffee, weigh out 20g of coffee and place it straight into the AeroPress.
-
Pour: Once your water is heated, pour in 200ml of water and start your timer. Make sure to saturate as much of the coffee as possible.
-
Stir: As soon as you are finished pouring, stir back and fourth 5 times, then side to side 5 times, around in circles clockwise 10 times and then finally around in circles counter clockwise 10 times.
-
Soak Filter: While waiting for your coffee to brew for two minutes, soak the filter paper in hot water to remove any paper taste. Then screw it onto the AeroPress and push it down just to remove all the air from the AeroPress and leave to stand.
-
Plunge: After two minutes, place a cup on top of the AeroPress and with a firm grip on both your cup and AeroPress, flip them upright so the AeroPress is on top of the cup. Then press the plunger down to the bottom of the AeroPress slowly and evenly.
-
Top Up: Once you have plunged your coffee, place your cup on top of the scales once more and top with an additional 80ml of water at the same temperature as your initial pour.
-
Enjoy: Once you have topped up your coffee, you can now enjoy your brew. Due to his sweet tooth, Daniel likes to add a little bit of sugar to his coffee. And for darker roasts, a splash of milk.


